|
|
|
|
|
|
|
|
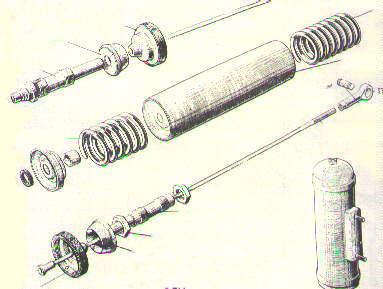
| inertia dampers | friction dampers | shokabsorbers | spring pot adjusters | spring retainers | tie rod eye |
|
|
|
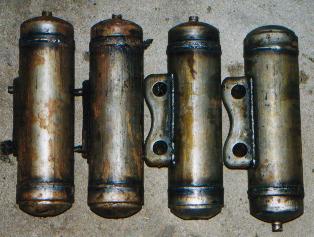
Hydraulic shockabsorbers
This 2CV was wearing besides the original friction dampers 4 original Citroën-hydraulic shockabsorbers. Those 4 shockabsorbers will not be placed back, the 4 nonadjustable frictiondampers are rebuild to adustable-type's. In the past when the frictiondampers were not functioning well, they have gotten assistance from the 4 hydraulic shockabsorbers which as asseccoire could be placed whith a small modification. 
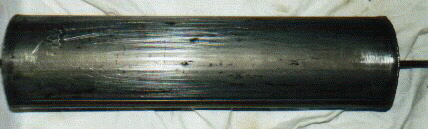
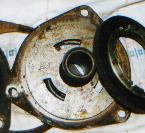
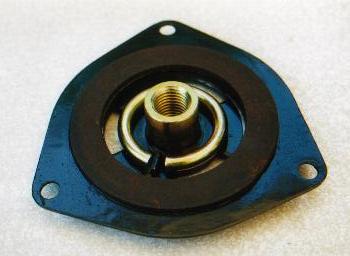
Spring retainers The two spring-retainers were in very good shape/ condition. Only one small hole in the cover was repaired with CO2-welding. Before painting I was curious to know how the condition of all innerparts were be. With a grindling-machine I removed the weld. Thereafter the lid and all innerparts were removed and cleaned (picture). When welding the small hole was completed the weld at the innersite of the cover was removed and cleaned with sandpaper. Painting this retainers is done at the same way as discribed with the suspension-arms. |
|
|
|
|
|
|
|
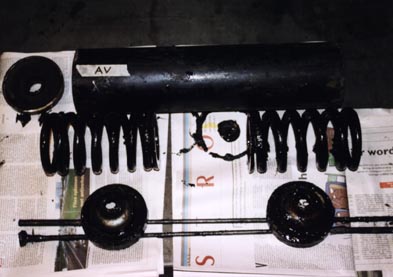
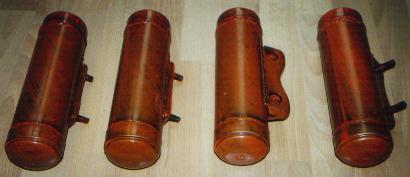
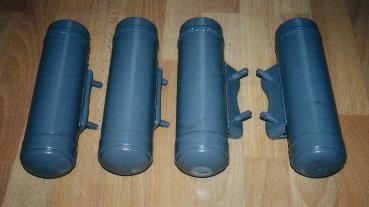
The different parts were cleaned with greace-remover and white spirit and treated with Owatrol. After the cleaningproces all part were placed back and closed by a nice weld. The paintingproces is the same as mentioned before. Below a picture of the zinc-treated components of this system (click on the pictur to increase the size). 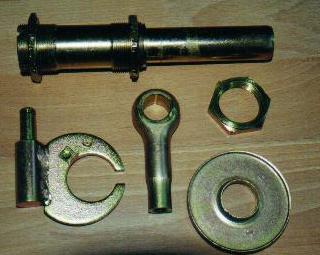
|
|
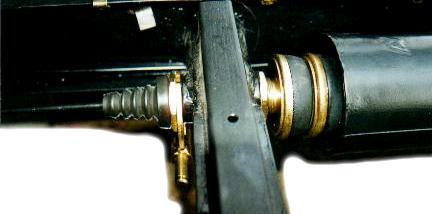
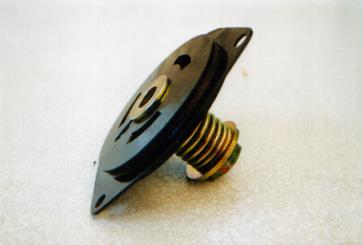
* Hiernaast een foto van de veerpot in gemonteerde positie waarbij aan de voorzijde nog wel de beugel is gemonteerd voor montage van de schokbrekers. Na montage bedacht ik mij pas dat ik deze schokbrekers niet wil monteren en gewoon met frotteurs en batteurs wil gaan rijden. Deze beugels zullen dus nog worden verwijderd en bewaard, je weet maar nooit of ze nog eens nodig mochten zijn. |
|
|
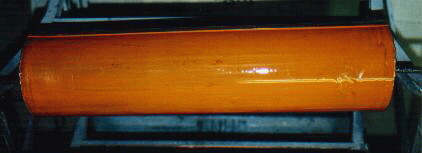
Inertia dampers
To control the functioning of the inertia-dampers follow the steps below. Chake the inertia-damper by hand, feeling the 2,5 kg weight inside changing from place - the intertia-damper is functioning well. If you don's feel the weight is moving means that the damper is fixed and should be replaced. Another way to test the damper is falling the damper from about 15 cm height above the ground with the fillerbolt upside. If the damper is coming up after contacting te ground he is in a good condition. After controlling the intertia-dampers the oil inside was changed bij new engineoil (10W40) and repainted as discribed above.. Untill 1957 0,08 liter oil, after 1957 0,07 liter oil. |
|
|
|
|
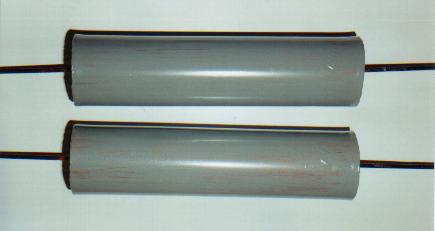
Friction dampers
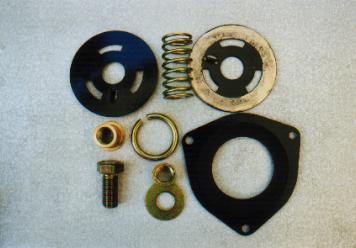
The non-adustable friction-dampers were modified into adjusable type's. At the same time special tools were made to adjust those following the specifications of Citroën. All parts were zinc-treated by Galvamé. The below mentioned part I have use to modify the non-adjustable friction-dampers.
The outside of the friction-dampers were painted black with a mix of Rust-Oleum industria-paint (the mix was: type 7578 en 7579 RAL 9005, each 50%) |
|
|
|
|
|
Spring pot adjusters
The screwthread of the spring-pot-adjeusters on where both ends of the spring pot a are hanging in, was in some cases repaired by a triangle-vile. Move this vile slightly through the damaged thread untill the nut is running nice without drag. |
|
Tie rod eye
At the same time I was attempting to modify the tie-rod-eye by placing a greacenipple at the back of the "eye". Alas, it didn't worked out. A tie-rod-eye is harded-steel, in this kind of steel it is impossible to bore a hole of a few mililmeters in it to place a greascipple. In this case the only way is to unharden the tie-rod-eye, make that hole and harden the tie-rod-eye again. For your information, this is a very expensive treatment, for this reason I leave this modification - maybe in the future, I will let you know. |
|
|
|
|
|
|
|
|
|
|